
The armature gains its first layers of epoxy putty (Apoxie Sculpt) and this is applied in sections as it is a 2 part formula and you really can't have too much mixed at one time. Physically, the mixing is dead boring (2 full minutes is recommended) and really it almost makes you careful as to where and how you apply it, so I don't mind the slow pace. In the end, I know the stuff will be rock hard and as it gives you a good hour's workability, the final result is entirely up to you. Other materials such as resin, paint, varnish and certain glues, always find a way to surprise (read disappoint) me in that they don't end up the way I intended.
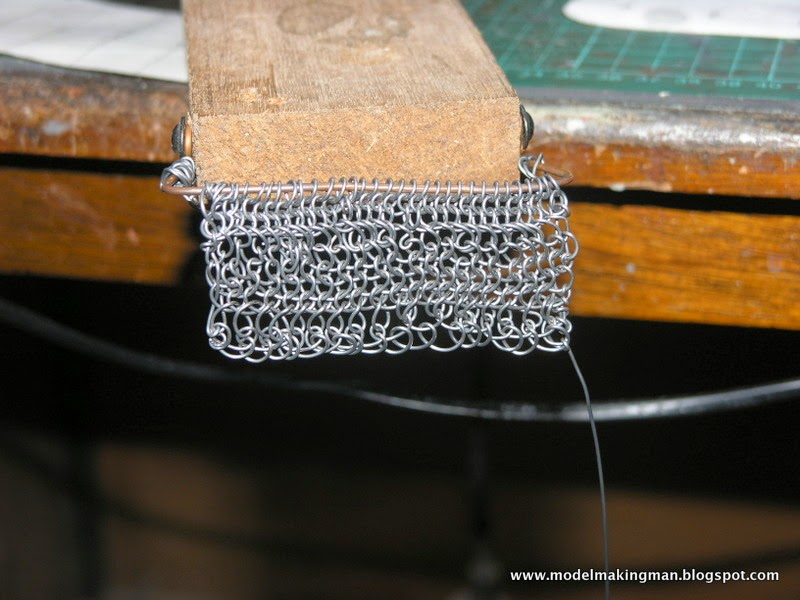

A thin tube, ( in the aforementioned 54mm figure, a syringe ground down to half its diameter, but in my larger scale, a 2mm brass tube), was used to make a series of repeated curved impressions for a full circuit of the neck. Under them, in a reversed curve, another line was made. This continued until a sufficient area had been covered. The effect is quite like ch'mail and careful painting will reinforce the effect later on.


In this closeup of the painting you can see all the individual bits that have to be modelled, just to fill the chest area alone. Each presents its own problem-- how do I make that gorget,what materials will do the job, have I got something that looks like a spiky wheel, a dissected finger and what about those rope connector doodads? All the time I'm asking these questions, I keep seeing that signature Adrian Smith -wild man- bearskin- hair erupting over the back. It will pose a problem for sure.

Lead sheet to the rescue! This is thicker and came off a friend's roof as flashing and required a bit of bashing on my railway line anvil (also from the same friend). Also at this stage another layer of epoxy has been added to build up the chest armour. I remember those subtle ridges in the armour as being quite troublesome, but they are important in defining where things go and how the final painting will be affected.

Again with the arrowheads! Of course they have to have studs in them but cut off straight pins do the job admirably. All these different materials are glued with CA or super glue. 5minute Araldite could also do the job but CA is still the most effective and the quickest when an accelerator is employed as well.

When the resin items had cured they were joined to make the full pauldron, much lighter and stronger than the original masters. The arrows came out well I think and the different levels are definitely there.

A minor diversion now to the base. I used a piece of 19mm radiata pine cut in a pleasing irregular shape and covered with thick polystyrene (the packing stuff). Imbedded strongly in this are two large dowel plugs, positioned to accept the feet wires. The thickness of the foam allowed the different heights of the feet to remain. I can't remember what the third hole was for - maybe another idea that didn't make the grade.

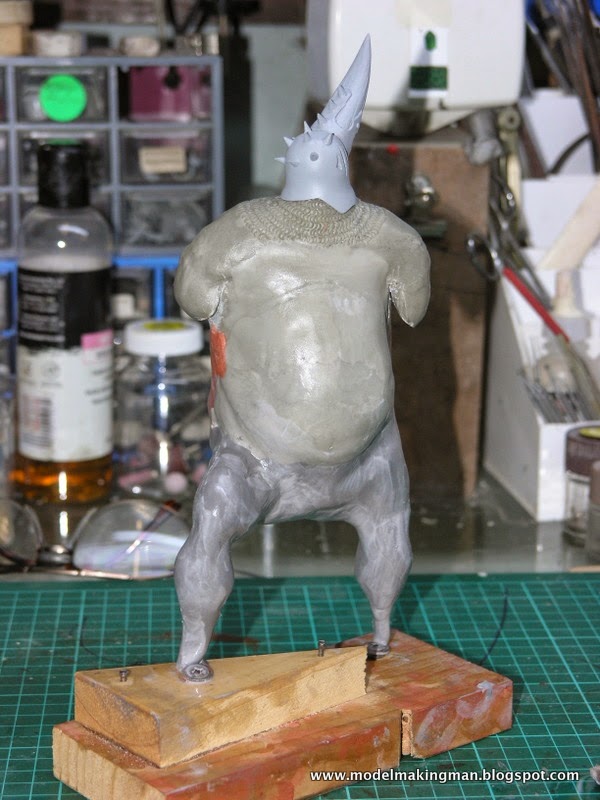
What a figure he cuts! All the bits made so far are assembled with arms even! Really this is mainly to convince me that progress is being made, too bad I forget to attach the pauldron.
No comments:
Post a Comment