This is my second robot model based on the Ashley Wood pictures and using that stainless steel cistern float thingy I mentioned in the last entry. He sort of looks like he is at the ready, twitchy fingers, staring eye and all, so that's his moniker from now on.
Finally we get to see the steel float which has always looked like a potential robot to me, and together with the rusty gas tank I saw in Adelaide, I was destined to build a few metal men.
I made a mould of the float and cast various forms, the top pic being the one for this robot. The way the raised seam line came out was pleasing and gives some immediate character to the piece. A cast cylinder was ground down and glued to a plastic base plate with some other cast bits stuck on for good measure (the first of many).
Arms and legs make the model and I wanted the same basic form to do both jobs.This shows the master for the arm/leg piece together with the hands, a right and a left. Maybe later I will work out a way to use a single piece but at this stage I think the hands are so important at a detail level at least. I made another mould for the limbs as I would need eight in total and you can see that the half check built into the master allows two pieces to be joined as an elbow or a knee.
The fingers can be made many different ways and I have tried a few - all of them drive me crazy. This method where 3mm plastic is ruled up and a male/female system of grooves is sawed and filed, seemed to give enough basically equal sized joint segments for two four fingered hands. The file at the top was sharp enough to cut the female side while a razor saw dealt with the protruding male lug. That little soft jawed vice from Games Workshop has been invaluable. The bottom shot shows how the forearm casting has been cut off at the wrist and joined to the hand with a brass tube augmented with a wire connection. As the hands are separate, right and left, they have bulges that orientate the thumbs differently from the fingers creating a hand that may be able to grasp a tool realistically.
One of the main things I wanted this robot to have was some panel lines and to do this marking I needed a very hard, not necessarily super sharp, tool. My engineering friend had just the thing, a needle from a rust removal tool and allied with templates used in rescribing panel lines on plastic aeroplane kits, I set forth with a bit of trepidation. Resin is quite hard and therefore slippery and to scribe a good round corner without skidding past where you want to stop is tricky. I feel happy with the result but there aren't many on this robot, maybe I'll be more ambitious on the next.
Just cutting the groove around the top took a bit of planning and a lot of gentle sawing in a temporary jig.
The middle pic shows the tools used to scribe and finish the lines and grooves, a hobby knife, a dental tool and the hard sharp needle.
At the bottom is the robot laid out with arms and legs where they will end up.
Another side on photo I'm sorry but an important one. All my models are accompanied by pages of plans in my sketch books and this shows the thoughts behind the weapon that the robot will carry.
It is similar to a grease gun affair that an Ashley Wood robot held but mine was based on three cylinders combined for the major part with a flamer barrel and a more elaborate handle. Also on this page is the plan for his feet which I changed by using a casting previously made.
.
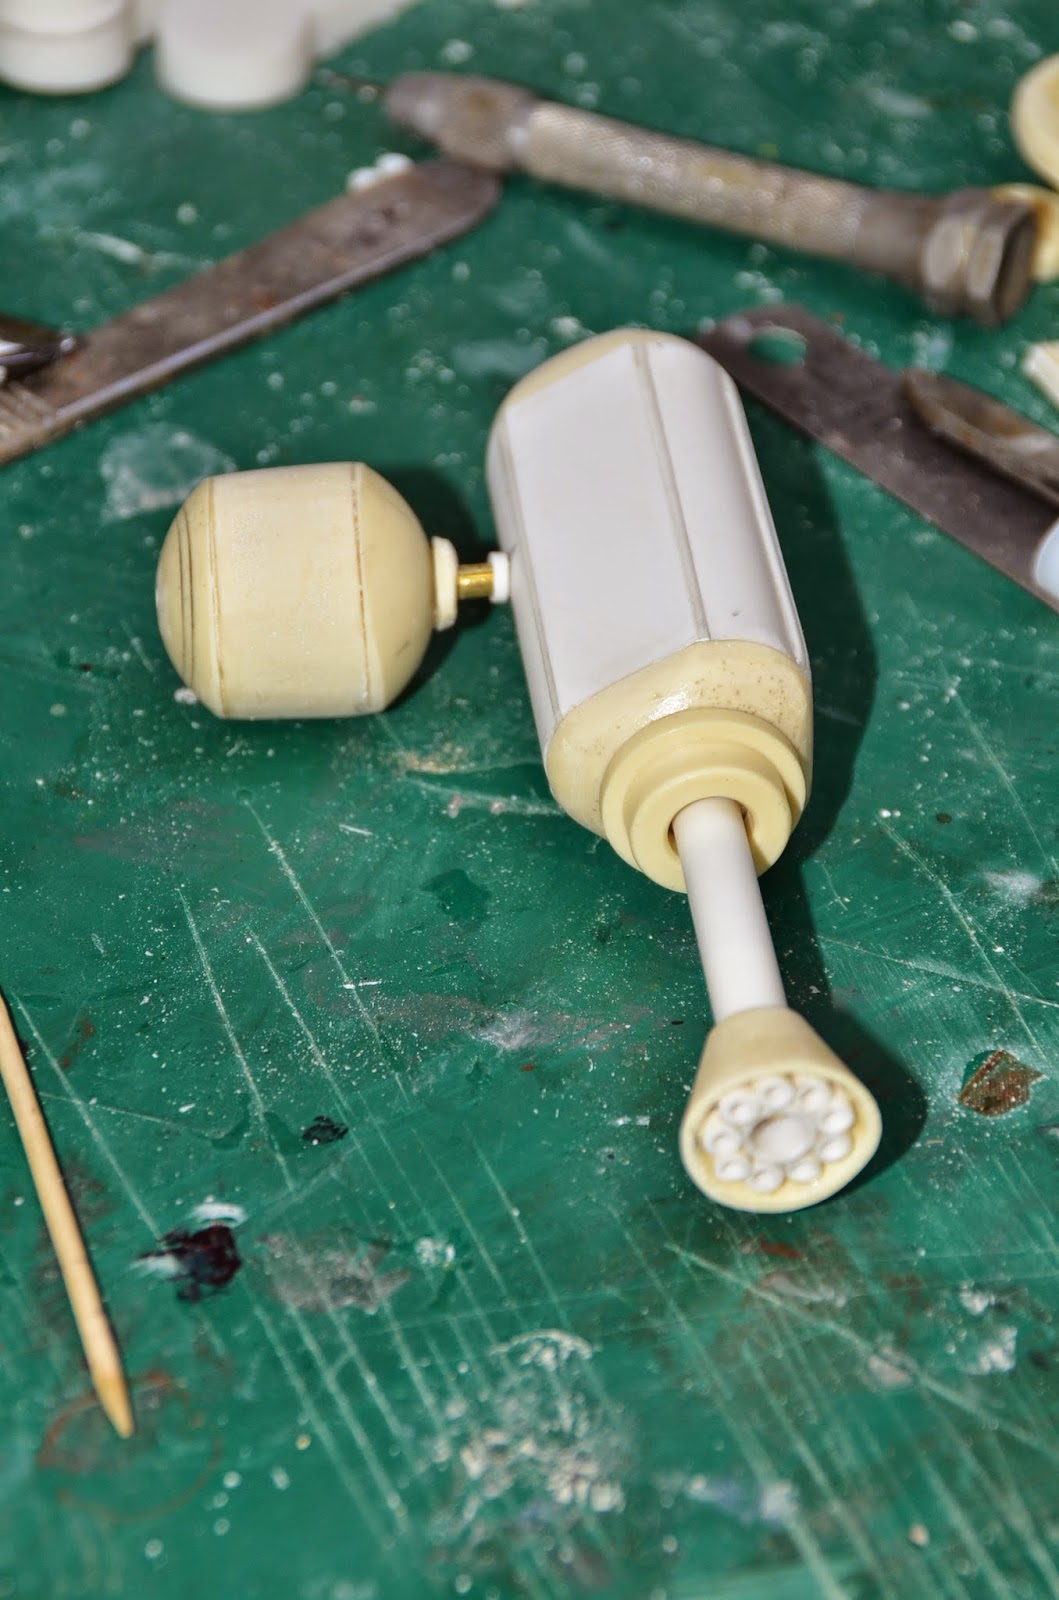
These pictures show the stages in the making of the weapon and all the resin bit are cream while the white is plastic.The bands are copper and a brass rod strengthens the whole length of the thing.
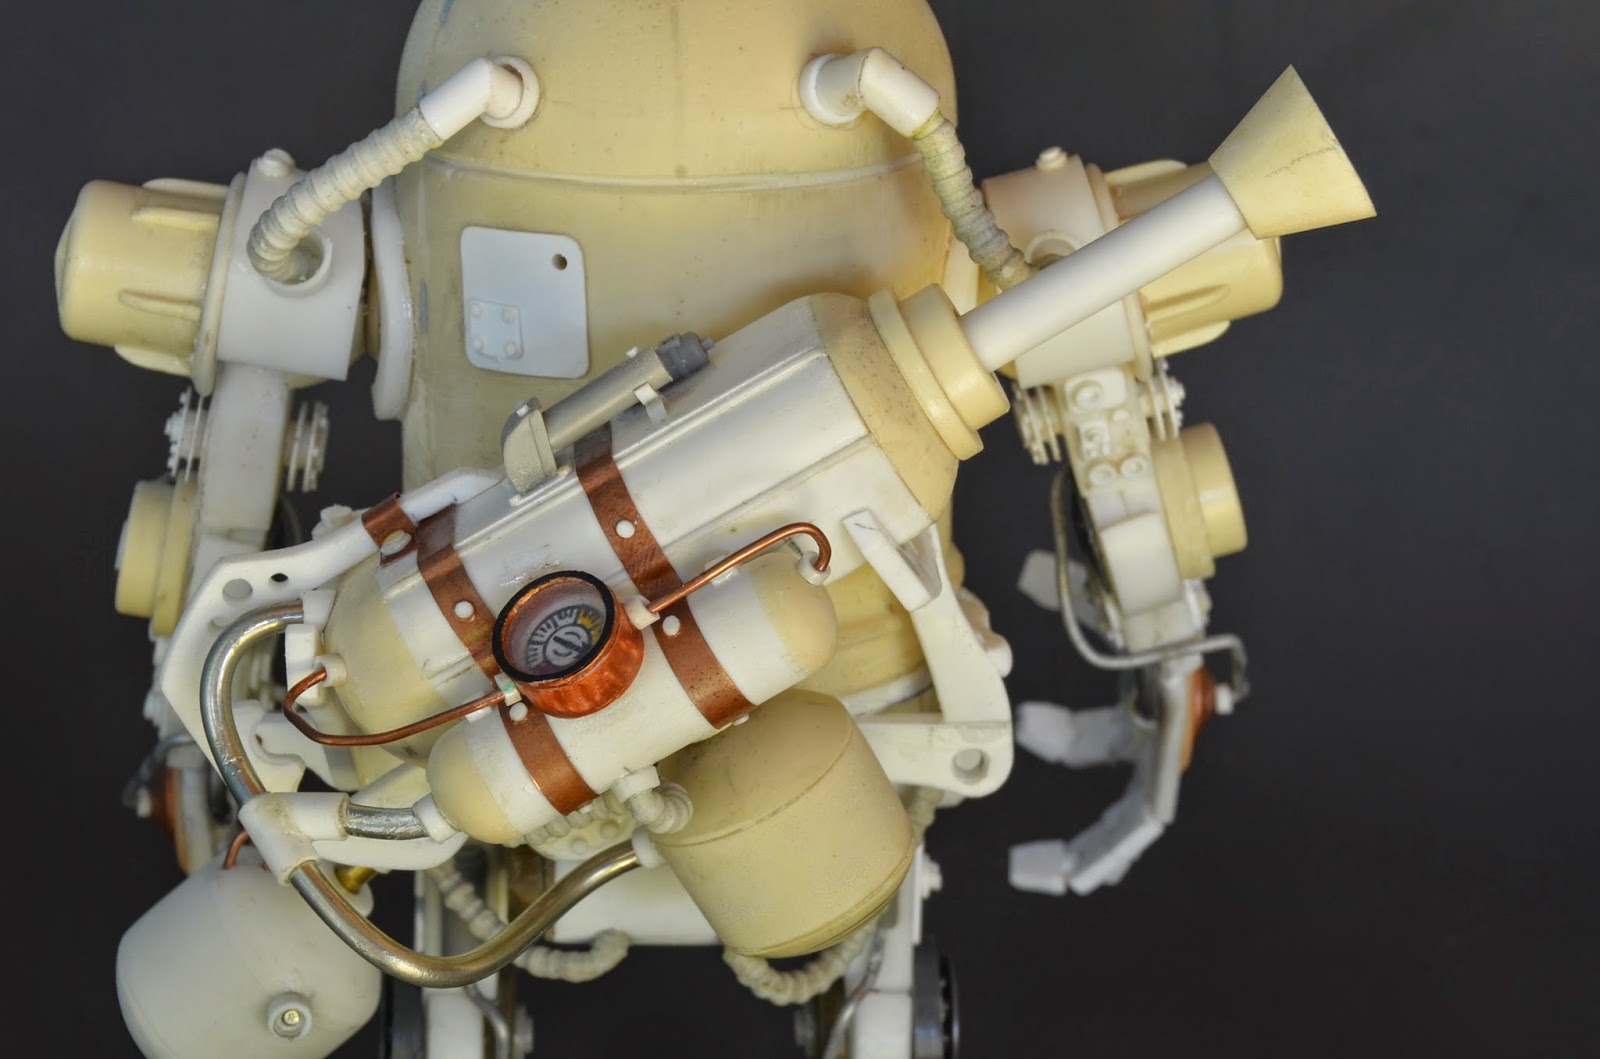
And there he is, unpainted in all his fiddly glory. There are little bits of kit parts, cut plastic sheet, resin castings (especially at the joints), wires, tubes, brass bits,solder bits, anespecially tricky scratch built pressure dial and some homemade braided lines. I saw the "tentacle maker" that Games Workshop sells and decided to make my own, not too sophisticated but sort of useful. I particularly like his flamer and decided to provide him with a spare fuel canister hanging from his weapon rack.
This is what he looks like without the gun and building the rack to fit was one of the trickier parts of the project but also one of the most satisfying as it is crazily asymmetric and suits such a character.
The finished product resplendent in a hairspray blotched paint job. This is a paint technique where after a base colour is applied then sealed with a lacquer varnish, a layer of hairspray follows.Over the hairspray the top colour is laid and,being acrylic, is susceptible to water damage. That is exactly what we want, for by wetting the barely dry top coat, it can be removed with a toothbrush to allow the sealed base coat to show through. If your base coat were rust coloured then this is the colour that will be seen in all the areas where the toothbrush had removed the top coat.A clever technique which can be manipulated by varying the order of colours and the time of drying between stages.
I enjoyed this build and have put the two robot images on my board "Things I have made" on Pinterest.


No comments:
Post a Comment